How to Sew a Duvet Cover
Sewing a duvet cover is one of the most practical and beginner-friendly sewing projects you can tackle. Unlike complex garments, a duvet cover relies on straight seams, hidden edges, and simple geometry, perfect for building confidence at the sewing machine. But beyond ease, making your own duvet cover unlocks a level of customization no store-bought version can match. Off-the-rack covers often don’t fit well, especially with thick down inserts, leading to a sagging, bunched look.
When you sew your own, you measure your actual duvet insert and add the right seam allowances, ensuring a snug, tailored fit every time. You also choose the fabric. Want breathable linen for summer? Done. Prefer buttery-soft Supima cotton for winter? Go ahead. This guide walks you through every step: measuring, cutting, piecing, choosing closures, and finishing like a pro.
Measure Your Insert First

Get Exact Dimensions
Before buying fabric, measure your actual duvet insert, not the mattress. Standard inserts are often larger than the bed size suggests. For example, a queen insert is typically 90″ x 90″, not 60″ x 80″. Lay the insert flat and measure both width and length.
Add 2 inches to the width and 3 inches to the length for seam allowances and hems. If your insert is extra fluffy, add another 1–2 inches to each dimension to prevent a tight fit. This ensures the cover slips on easily and lies smooth.
Account for Fabric Width
Standard quilting cotton is only 42–45″ wide, which is too narrow for queen or king beds. Home decor fabrics come in 54″–60″ widths, often eliminating the need for side seams. If your fabric is narrower than your duvet, you’ll need to piece panels together.
Use this formula:
Number of widths = (Required width + 2″) ÷ Fabric width
Round up to the nearest whole number. Then multiply by the length (in yards) to get total yardage.
Choose the Right Fabric
Pick for Comfort and Durability
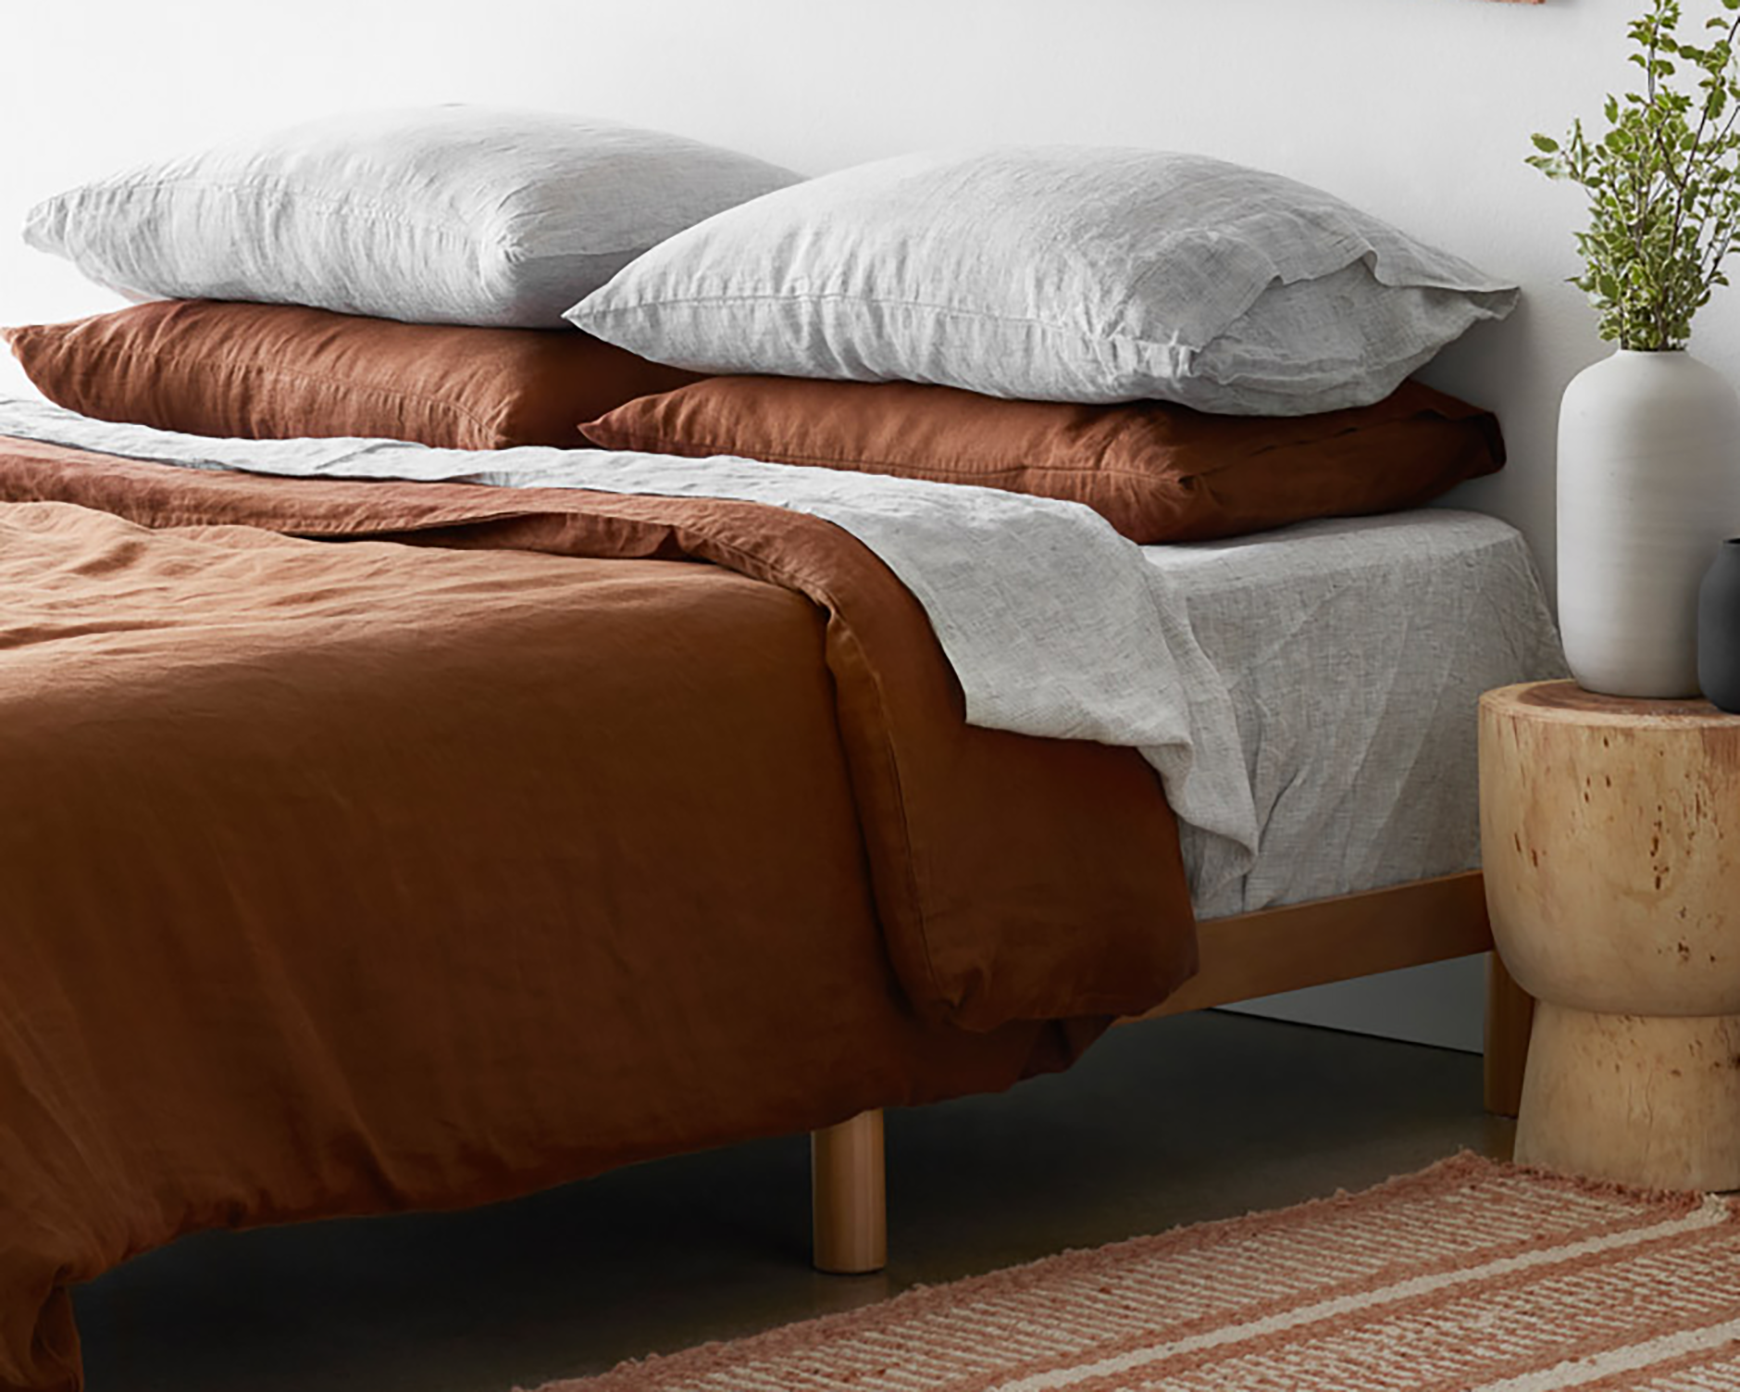
Natural fibers like linen and cotton are ideal for breathability and softness. Linen cools in summer and softens over time, though it may shed initially. Finish all edges to prevent fraying. Cotton is easy to sew and comes in many weights. For luxury, choose Supima cotton, which features extra-long staple fibers that resist pilling and feel silky.
Quilt-weight cotton works well but may require piecing. Home decor fabric is sturdier and wider, reducing seams. Or save money by using a flat sheet for the back panel. A queen or king flat sheet fits perfectly and cuts sewing time in half.
Buy Enough Yardage
For a queen duvet, plan on 5–6 yards of 54″–60″ wide fabric for the front. The back may need the same, unless you’re using a sheet. If your fabric has a pattern repeat, add the repeat length to your total yardage to ensure alignment.
Always pre-wash cotton and linen to prevent shrinkage after sewing. Dry and iron before cutting. This step is non-negotiable. It keeps your finished cover from puckering after its first wash.
Cut Fabric with Precision
Press Before Cutting
Lay fabric flat on a clean floor or large table. Iron out wrinkles so the grain runs straight. Cutting on a skewed grain causes the duvet to twist after washing.
Use a quilt ruler and rotary cutter or sharp fabric scissors. Measure twice, cut once. Mark dimensions with chalk or a washable pen.
Layout for Pattern Matching
If your fabric has a bold print or stripe, avoid a center seam cutting through the middle. Instead, cut a center panel using the full fabric width, then two side panels to fill the remaining width.
To match patterns:
1. Overlap the side panel’s selvage onto the center panel.
2. Slide it up or down until the design aligns.
3. Use fusible bonding tape (Stitch Witchery) to temporarily hold the match.
4. Iron in place, then pin and sew with a ½” seam.
Trim excess fabric close to the seam and finish edges with a zigzag stitch or serger to prevent fraying.
Build a Seamless Front Panel

Sew Panels with Strong Seams
If piecing is required, place side panels on the center panel with right sides together. Pin along the long edges to prevent shifting.
Sew with a ½” seam allowance using a straight stitch. Backstitch at the start and end to lock stitches.
Press and Finish Edges
After sewing, press the seam allowances open to reduce bulk. This creates a flat, professional look.
Finish raw edges with a zigzag stitch, serger, or pinking shears, especially critical for linen, which sheds. This prevents fraying during repeated washing.
Pick a Secure Closure Style

Compare Closure Options
The back of the duvet cover needs a way to open and close. Choose based on skill level, look, and function.
| Closure | Best For | Difficulty |
|---|---|---|
| Envelope Flap | Beginners, minimalists | Easy |
| Buttons | Classic styles, heavy duvets | Intermediate |
| Zipper | Modern look, active sleepers | Intermediate |
| Ties | Decorative throws | Easy |
| Snaps | Kids’ rooms, quick changes | Easy |
Each has pros and cons. Envelope flaps are simple but can gap. Zippers are secure but harder to install. Buttons look elegant but take time to sew.
Make an Envelope Flap Back
Cut and Hem the Flap
This method uses overlapping fabric with no hardware needed.
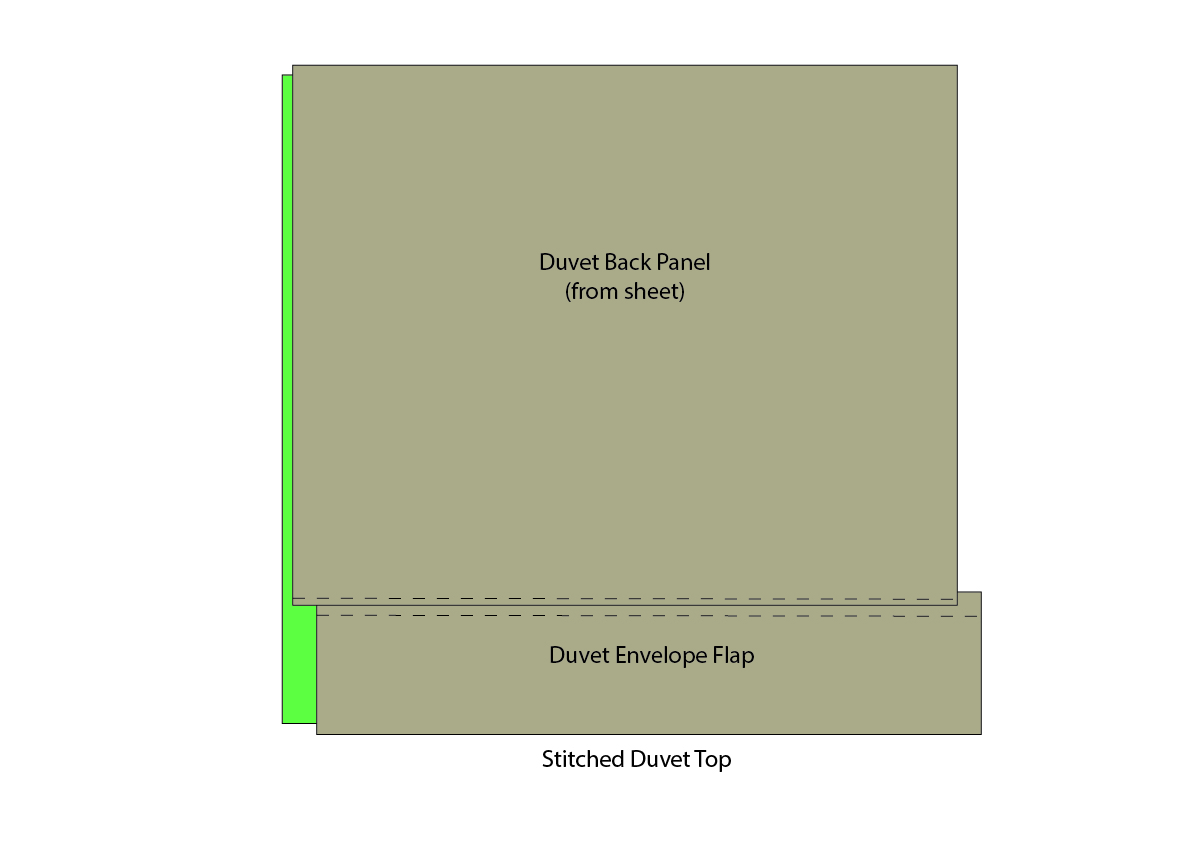
Cut the main back panel to the same width as the front, but 6–8″ shorter in length. Cut a separate envelope flap 16″ high and full width.
Hem one short edge of the flap: fold ¼” twice and stitch. This becomes the inner edge.
Assemble the Layers
Lay the front panel right side up. Place the envelope flap right side down on top, aligning raw edges at the bottom. The hemmed edge faces inward.
Place the main back panel right side down on top of the flap, aligning raw edges. It should overlap the flap by about 6″.
Pin around the sides and top, leaving the bottom open. Sew with a ½” seam.
For extra hold, add snap tape along the overlap before final sewing.
Sew a Button Placket Back
Cut Panels for Overlap
Cut two back pieces:
– Top panel: 10″ longer than insert
– Bottom panel: 6″ shorter than insert
This creates an 8½” overlap when closed.
Reinforce and Hem Edges
Fuse 1″ wide interfacing to the wrong side of the short ends where buttons go. This prevents stretching.
Fold the short edge over 1″, press, fold again 1″, press, and topstitch. Repeat for both pieces.
Attach and Add Buttons
Place the two panels right sides together. Align the sides and top. At the bottom, let the hemmed edges overlap by about 1″.
Pin and sew around the three open sides with a ½” seam. Do not sew the hemmed edges together.
Sew buttonholes on the top placket. Mark and sew buttons on the bottom placket.
Install a Zipper Closure
Prepare Edges
Finish the bottom edges of both front and back panels: fold 1″ twice and press.
Baste a temporary stitch along the edge to hold the hem in place.
Sew the Zipper
Place the zipper face down on the seam line. Use a zipper foot to sew close to the teeth on both sides.
If using an invisible zipper, install it before assembling the full cover. Add a ½” seam allowance and follow zipper-specific instructions.
Remove basting stitches once the zipper is secure.
Join Front and Back Panels
Align and Pin Carefully
For envelope or button styles, place front and back right sides together. Align raw edges on sides and top.
Pin every few inches, especially at corners. Ensure the closure (flap, buttons, zipper) is open and not caught in the seam.
Sew with a Clean Finish
Two methods:
French Seam (Recommended):
1. Sew with wrong sides together, ½” seam.
2. Trim seam to ¼”, clip corners.
3. Turn inside out (now right sides together).
4. Press, then sew ¼” seam to encase raw edges.
Standard Seam:
1. Sew with right sides together, ½” seam.
2. Trim excess, finish edges with zigzag.
3. Reinforce corners with diagonal backstitching.
Turn and Finish the Cover
Flip Right Side Out
Reach through the open bottom and pull the entire cover through. Use a chopstick or knitting needle to push out corners gently. Avoid snagging fabric.
Press for a Crisp Look
Iron the entire cover, focusing on:
– Seams (press flat)
– Hemmed edges (sharp fold)
– Closure area (smooth lay)
This step transforms a homemade look into a polished, store-bought finish.
Prevent Insert Slippage
Add Corner Ties
The #1 issue with duvet covers: the insert shifts. Fix it with corner ties.
Cut four 6″ strips of ribbon or fabric. Before final sewing, sew one tie into each inside corner of the cover.
Sew matching ties or loops to the corners of the duvet insert. Tie them together before closing the cover.
Try the Safety Pin Trick
No ties? Use large safety pins.
With the cover inside out, lay the insert on top. Pin through both layers at each corner. Tape over the clasp to prevent opening.
Turn the cover right side out, then remove pins.
Avoid Common Mistakes
Measure Twice, Cut Once
Using mattress size instead of insert size leads to a poor fit. Always measure the actual insert.
Don’t Ignore the Grain
Cutting off-grain causes twisting. Align selvages and use a ruler to ensure straight cuts.
Use Enough Seam Allowance
Stick to ½” for strength. Smaller seams can tear under the weight of a heavy duvet.
Skip the Iron? Don’t.
Pressing after every step makes a huge difference in the final look. It’s not optional for a professional result.
Secure Closures Properly
A flimsy envelope flap or weak buttons let the duvet escape. Use at least a 6″ overlap and reinforce plackets with interfacing.
Extend Your Cover’s Life
Wash Before Use
Pre-washing removes shrinkage risk and softens fabric. Wash and dry your cover before first use.
Finish All Raw Edges
Even with French seams, finishing side edges with a zigzag stitch or serger prevents fraying over time.
Store Properly
Rotate seasonal covers. Store in a cool, dry place and avoid plastic bins that trap moisture. Cotton and linen last longer when aired out regularly.
Frequently Asked Questions About Duvet Covers
How much fabric do I need to sew a duvet cover?
For a queen duvet, plan on 5–6 yards of 54″–60″ wide fabric for the front and a similar amount for the back, unless you use a flat sheet. Always measure your insert first and add seam allowances.
What is the easiest closure for a duvet cover?
The envelope flap is the easiest closure. It requires no hardware, just overlapping fabric panels. It’s ideal for beginners and creates a clean, minimalist look.
Can I use a flat sheet to make a duvet cover?
Yes. A queen or king flat sheet works perfectly for the back panel, saving both money and sewing time. You only need to purchase fabric for the front piece.
How do I keep the duvet insert from shifting inside the cover?
Sew corner ties into each inside corner of the cover and attach matching ties to the insert. Alternatively, use large safety pins temporarily to secure corners before closing the cover.
What seam allowance should I use for a duvet cover?
Use a ½ inch seam allowance for all main seams. This provides enough strength to support the weight of a heavy duvet without tearing.
How long does it take to sew a duvet cover?
Beginners typically need 4–6 hours from start to finish. Experienced sewers can complete the project in 3–4 hours. Additional time may be needed for pattern matching or complex closures.
Key Takeaways for Sewing Your Own Duvet Cover
Sewing a duvet cover gives you perfect fit, fabric freedom, and a handmade touch no department store can offer. Start by measuring your actual insert, not the mattress, and add proper seam allowances to ensure a snug fit. Choose breathable natural fibers like cotton or linen, and pre-wash all fabric to prevent shrinkage.
Pick a closure that matches your skill level. Envelope flaps work well for beginners, while buttons and zippers offer a more polished look. Finish all raw edges with a zigzag stitch or serger to extend the life of your cover through countless washes.
Your next step: gather your materials, measure your insert, and set aside a weekend. By Sunday evening, you’ll have a custom duvet cover that fits perfectly and reflects your personal style.