
How to Use a Duvet Cover
You’ve just bought a beautiful new duvet cover, but when you try to put it on your comforter, it feels like wrestling a sleeping bag into a pillowcase. You’re not the first person to feel this frustration. How to use a duvet cover correctly is one of those household tasks that looks simple but trips up even experienced home keepers. The fabric flips inside out, corners refuse to align, and somehow your duvet ends up lumpy on one side and flat on the other.
The good news is that putting on a duvet cover doesn’t require strength or special tools. It just requires the right technique. In this guide, you’ll learn a step-by-step method to insert your duvet quickly, how to choose the best closure for your needs, and simple tricks to keep everything in place. You’ll also get maintenance tips to make your bedding last longer and look better.
Prepare Your Duvet and Cover for Setup
A little preparation goes a long way toward avoiding mid-process frustration. Before you start, make sure both your duvet insert and the cover are clean and dry.
Wash the Cover Before First Use
Most duvet covers, especially those made from cotton or linen, can shrink slightly after their first wash. Washing and drying the cover beforehand ensures a proper fit from day one. It also removes any factory coatings or stiffness that make fabric harder to work with.
Lay Everything Flat on the Bed
Spread the duvet cover on your bed with the inside facing up. Yes, inside up. This is the opposite of how it looks when made, but it sets you up for success. Fully open the closure at the bottom or side. If your cover has internal corner ties, let them hang loose inside.
Now place your duvet insert directly on top of the cover. Align all four corners carefully. Make sure the insert is evenly fluffed and not bunched in any area. This flat setup is the foundation for the flip method.
Master the Flip-and-Pull Technique

This is the most reliable way to put on a duvet cover, especially when you’re working alone. It minimizes tangling and keeps the insert evenly distributed.
Grab the Top Cornors Together
Stand at the foot of the bed and reach up to grab the two top corners of both the duvet cover and the duvet insert at the same time. Hold them firmly together as a pair.
Flip the Cover Over the Duvet
With the corners in hand, flip the entire cover inside out and over the top of the duvet. As the fabric rolls down, it will gradually enclose the insert. Keep pulling the cover downward until the duvet is fully inside.
Adjust and Shake Into Place
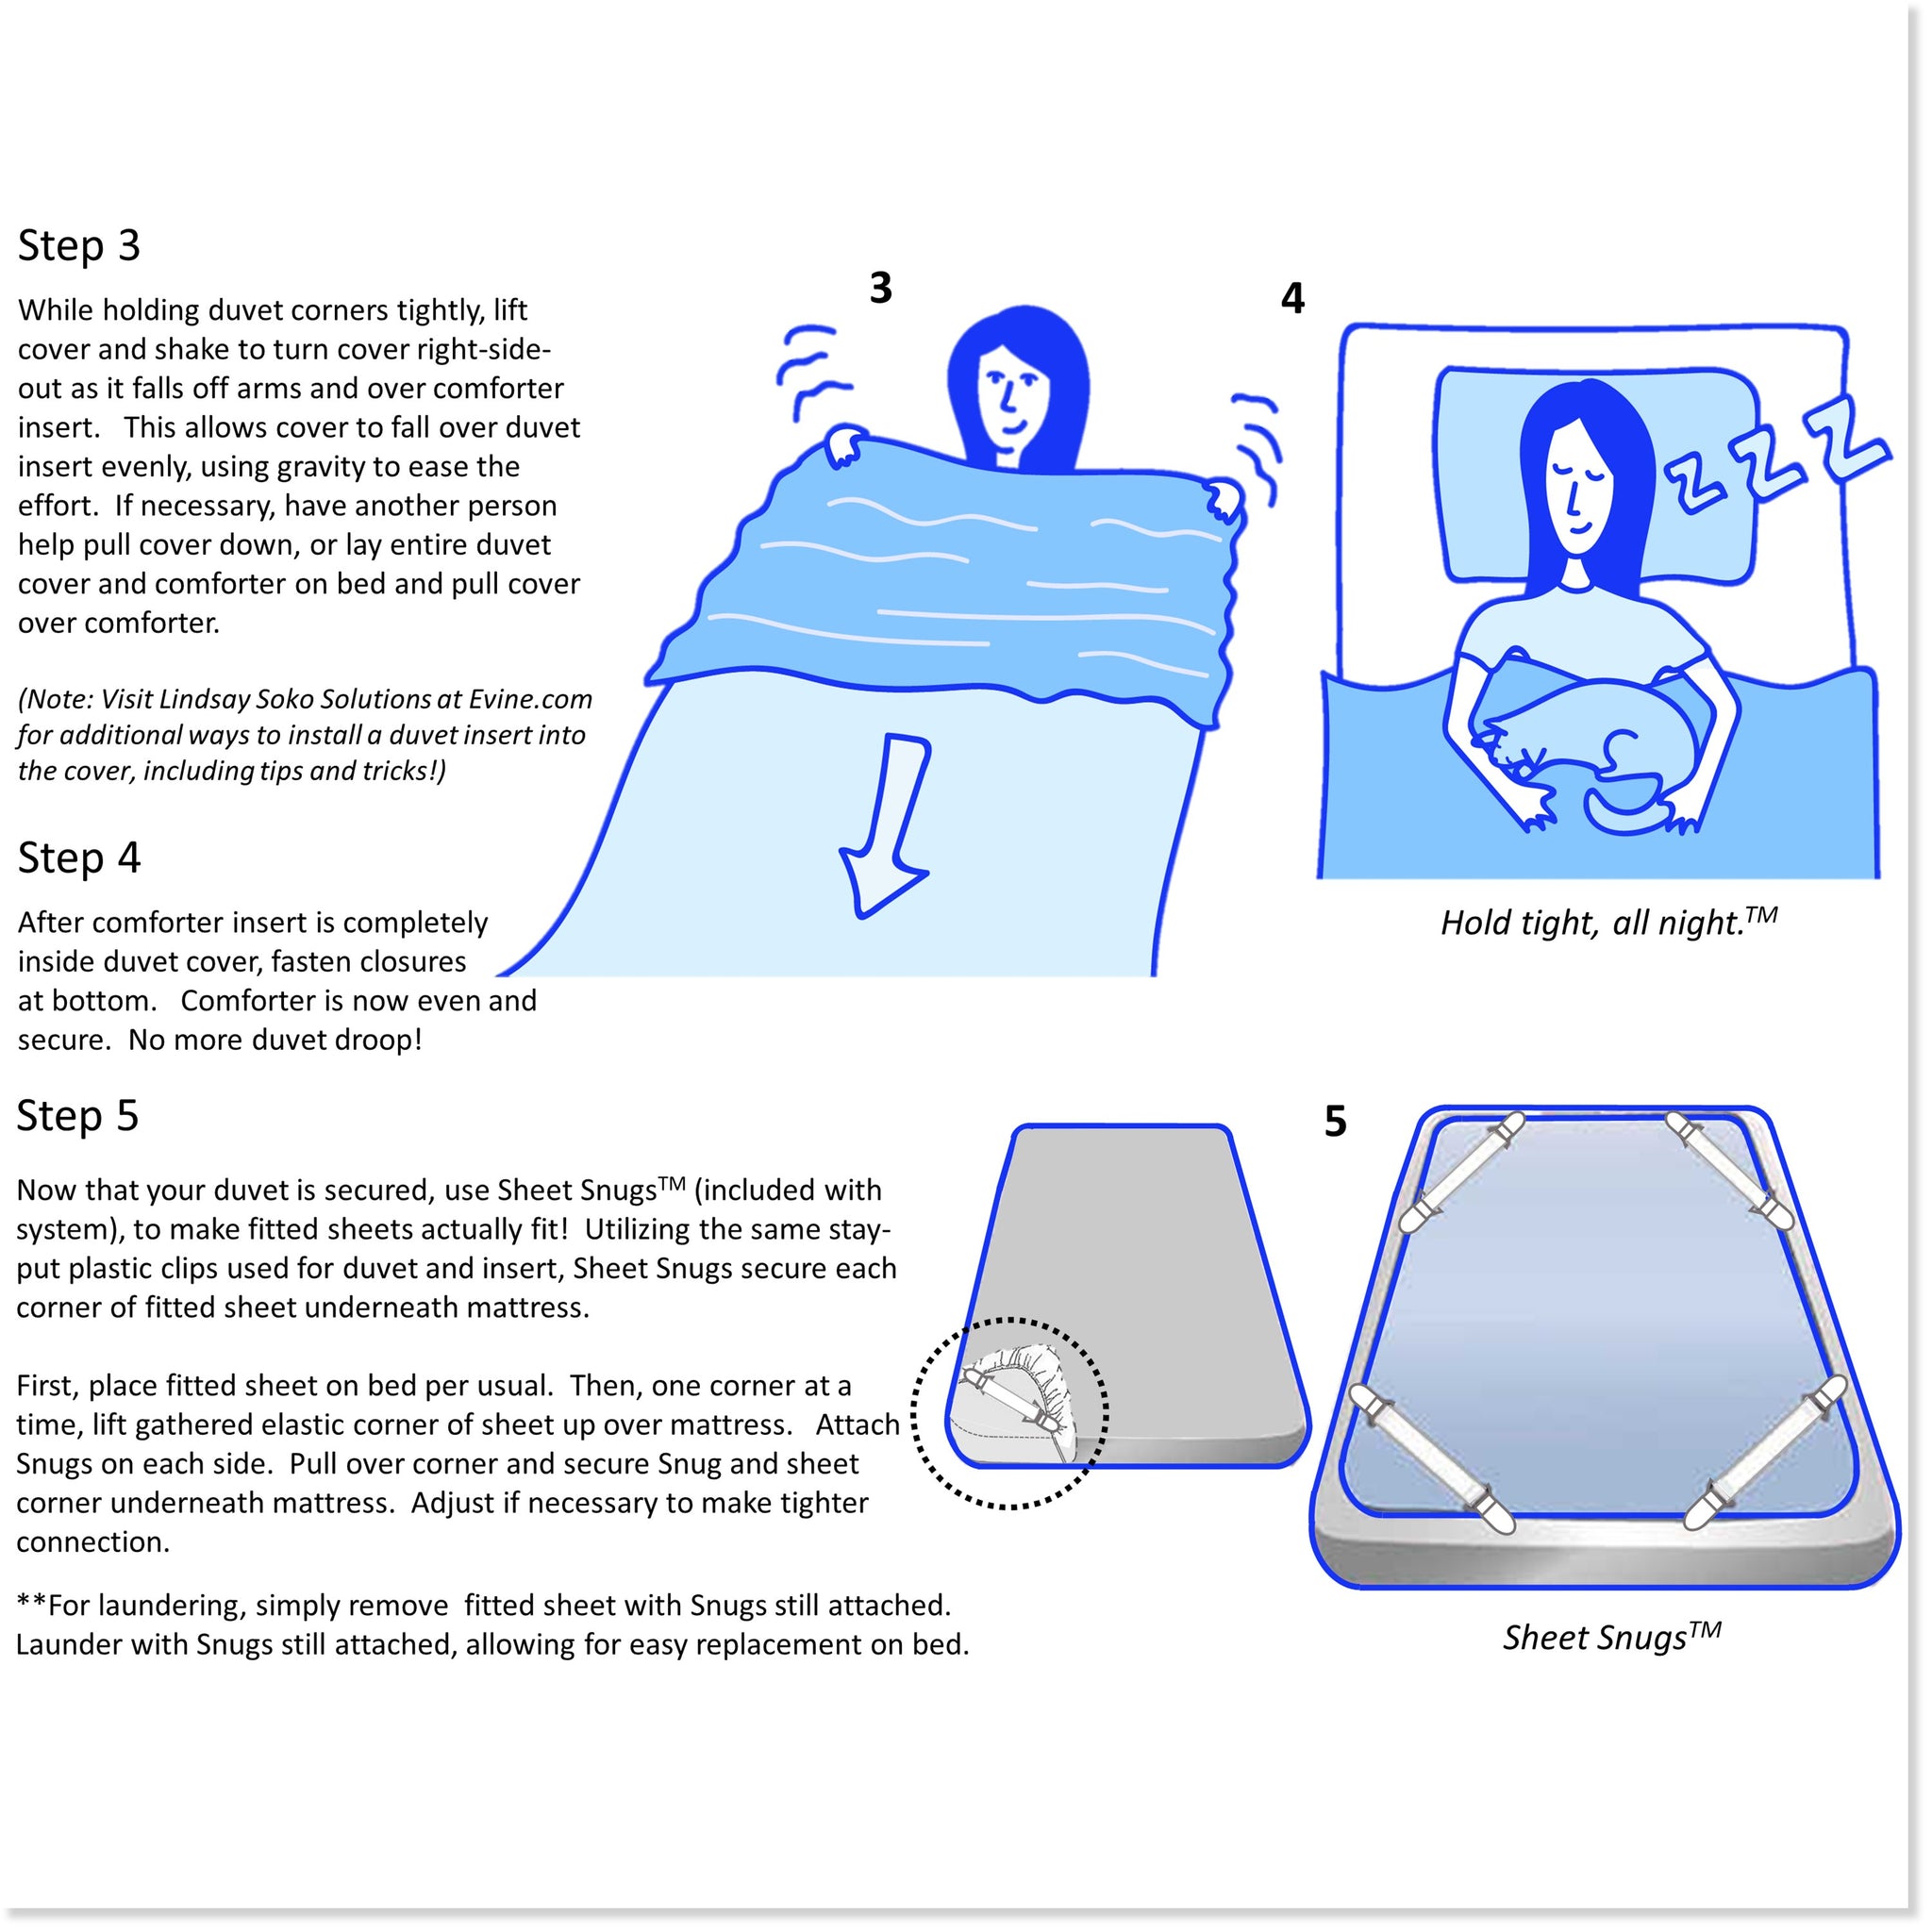
Once the duvet is inside, reach into each corner of the cover and tug the insert into place. Give the whole unit a few firm shakes from end to end. This settles the filling evenly and removes most wrinkles.
Choose the Right Closure for Your Needs

The closure type on your duvet cover affects how easy it is to use and how well it stays closed. Each option has clear strengths.
Zipper Closures for a Secure Seal
Zipper duvet covers create a tight, reliable closure that works well with heavy or fluffy inserts. To zip without snags, start at one end and move slowly, guiding the fabric away from the teeth as you go.
Pro Tip: Rub a dry bar of soap along the zipper teeth every few months. This keeps the zipper gliding smoothly and prevents frustrating jams.
Button Closures for a Classic Look
Button or snap closures offer a cleaner, more elegant appearance since there is no visible zipper track. They are common in higher-end bedding. The trade-off is that they take longer to fasten and unfasten.
Always check that every button is secured, especially near the bottom edge. Reinforced stitching around buttonholes prevents tears over time.
Tie Closures for Budget-Friendly Options
Some covers use internal fabric ties in each corner to anchor the duvet. These are affordable and simple, but they can loosen if not tied properly.
After inserting the duvet, reach inside and knot each tie to the corresponding loop on your insert. This prevents the comforter from sliding toward one end of the cover.
Insert Your Duvet Without Extra Help
You don’t need a second person to get the job done. These solo methods work just as well.
Try the Foot-First Burrito Method
Turn the duvet cover inside out and lay it on the bed with the opening at the foot. Climb to the head of the bed and grab the two top corners of the cover.
Now crawl forward into the opening like you’re entering a fabric tunnel. As you move, the cover will envelop the duvet behind you. Once you’re through, pull the cover right-side out and shake it smooth. This playful method eliminates tangles almost entirely.
Soften Stiff Covers With the Dryer Trick
If your duvet cover feels stiff or has stubborn wrinkles, toss it in the dryer on low heat for 5 to 10 minutes with a damp washcloth. The light steam softens the fibers and reduces static.
Always do this before inserting the duvet. Never put your duvet insert in the dryer unless the care label specifically allows it.
Keep Your Duvet in Place All Night

Even with a perfect insertion, duvets can shift during sleep or washing. These anchoring strategies keep everything centered.
Fasten All Corner Ties
Most quality duvet covers include internal ties at all four corners. These should connect to loops on your duvet insert. After inserting the duvet, tie every corner securely. If your insert doesn’t have loops, tie the cover’s strings around the corner seams instead.
Fluff and Smooth for a Polished Look
Once secured, shake the duvet from end to end to distribute the filling evenly. Smooth out wrinkles by hand or with a handheld steamer. Avoid ironing directly on down-filled inserts, as heat can damage the filling.
For a hotel-style finish, tuck the foot of the duvet under the mattress. For a relaxed look, leave it draped naturally.
Solve Common Duvet Cover Problems
Even with the right technique, you may run into occasional issues. Here’s how to handle the most frequent ones.
When the Cover Feels Too Tight or Too Loose
A snug fit is ideal, but if you struggle to insert the duvet, the cover may be undersized. Check the label to confirm it matches your insert’s dimensions (twin, queen, king, and so on).
If the cover is too loose, the duvet will slide around inside. Consider switching to a cover with stronger closures or using safety pins at the corners as a temporary fix.
When the Duvet Keeps Shifting
Shifting usually means missing or broken corner ties. Inspect each tie point and repair or replace any that are damaged.
For better results long-term, choose a cover with double-stitched corner ties or pair it with a baffle-box duvet insert, which has internal walls that prevent filling from migrating.
When the Cover Is Hard to Remove for Washing
Zippered covers come off fastest. Button styles take a bit longer but offer a cleaner look.
To remove, unzip fully, pull the duvet out from the foot end, and shake gently to release dust and lint. Always follow the care label for washing temperature and cycle settings.
Pick the Best Duvet Cover for Your Sleep Style

The right cover makes daily use easier and improves your sleep quality. Focus on fabric, size, and closure type.
Match Fabric to Your Comfort Needs
- Cotton sateen: Smooth, breathable, and ideal for warm sleepers
- Linen: Durable and moisture-wicking, perfect for humid climates
- Microfiber: Affordable, wrinkle-resistant, and easy to maintain
- Silk or bamboo: Luxurious and hypoallergenic, but requires delicate care
Confirm Size and Closure Style
Always match the cover size to your insert. A queen cover on a king insert will stretch the seams and look uneven.
Choose a closure style based on how often you wash your bedding and the look you prefer. Zippers are practical, buttons are elegant, and ties are budget-friendly.
Wash and Store Your Duvet Cover Properly
Good care keeps your bedding fresh and extends its lifespan significantly.
Wash the Cover Every One to Two Weeks
Treat your duvet cover like pillowcases and sheets. Wash it every one to two weeks to remove body oils, sweat, and dust mites.
Use a mild detergent and skip bleach or fabric softeners, which weaken fibers over time.
Dry on Low Heat
Tumble dry on low heat and remove the cover while slightly damp to minimize wrinkles. Hanging to air dry works well too.
For down-filled duvets, toss in a few wool dryer balls. They restore loft and prevent the filling from clumping.
Store Clean and Loosely Folded
Never store a duvet or cover while damp. Fold it loosely or roll it to prevent deep creases and mildew growth.
Avoid vacuum-sealed bags for long-term storage unless necessary. When you do use them, let the duvet air out fully before putting it back on the bed.
Final Thoughts on Putting on a Duvet Cover
Learning how to use a duvet cover turns a frustrating chore into a quick, satisfying task. The flip-and-pull method works for almost any cover, while choosing the right closure and fastening all corner ties keeps your bedding looking neat. Match your cover size to your insert and wash it regularly for the best results.
Start with the flip-and-pull technique on your next bedding change. Within minutes, you’ll have a smooth, evenly filled duvet that looks like it was done by a professional.
Frequently Asked Questions About Duvet Covers
What is the easiest way to put a duvet cover on by yourself?
The flip-and-pull method is the easiest solo technique. Lay the cover inside out on the bed, place the duvet on top, grab the top corners together, and flip the cover over the duvet while pulling downward. A few shakes at the end distribute the filling evenly.
How do you keep a duvet from bunching inside the cover?
Fasten all four internal corner ties to the loops on your duvet insert. This anchors the insert in place. Shaking the duvet from end to end after insertion also helps the filling settle evenly.
How often should you wash a duvet cover?
Wash your duvet cover every one to two weeks, the same as pillowcases and sheets. This prevents oil buildup, dust mites, and odors. Always check the care label for specific washing instructions.
Can you put a duvet cover in the dryer?
Yes, most cotton and microfiber duvet covers can go in the dryer on low heat. Remove them while slightly damp to reduce wrinkles. Never put a down-filled duvet insert in the dryer unless the care label explicitly allows it.
What size duvet cover do I need for my comforter?
Match the cover size to your insert size. Standard sizes include twin, queen, and king. Using a mismatched cover leads to poor fit, shifting, and unnecessary strain on the seams.
How do you soften a stiff duvet cover before using it?
Tumble the cover in the dryer on low heat for 5 to 10 minutes with a damp washcloth. The light steam relaxes the fibers and reduces static, making the cover easier to slip over your duvet.